How to Build a Camper Van: ‘Big Blue’ Transformation
How-To's & Resources, Renter Guest Posts, Women on the Road
How to build a camper van, from a 7-passenger shuttle queen to a camper van road trip machine (and back again)
By Dawn S
It happens, it happened to me, and it could happen to you, too. After your first Escape Camper Vans adventure, you will return home dreaming about your next road trip… and maybe learning how to build a camper van of your own. Camper vans are so easy to drive, easy to park, easy to camp out of, and no hookups are needed. Yet, you have everything you need always contained in one place, ready to move on to the next destination right when you are. We had always been tent campers. But that was before Escape Camper Vans changed the way we camped forever.
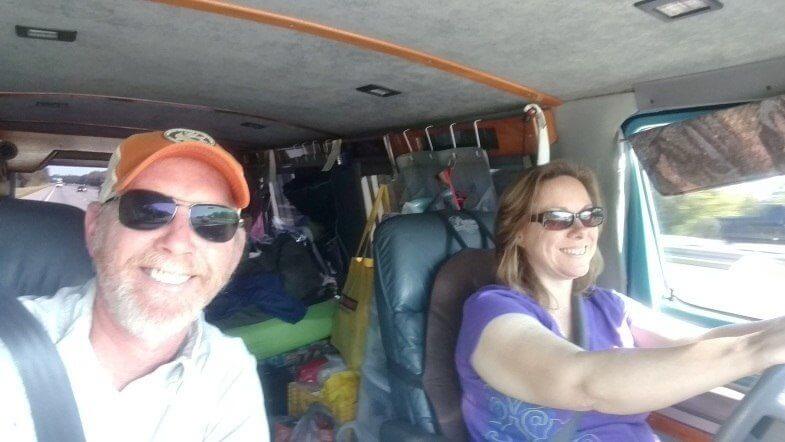
Camper Vans vs Tent Camping
Don’t get me wrong, I still love to tent camp, but now it must be in a remote spot that I paddled to, or a primitive backcountry campsite that I hiked to, carrying everything I need in a backpack. So for everything else, and especially for road trips, no more car camping for me. No more wet tent to pack up in the morning or damp sleeping bag to air out. It is van camping all the way! Van camping is so easy. You can literally wake up in the morning, put your shoes on, and drive away. Just don’t forget your camp chairs and towels, and off you go.
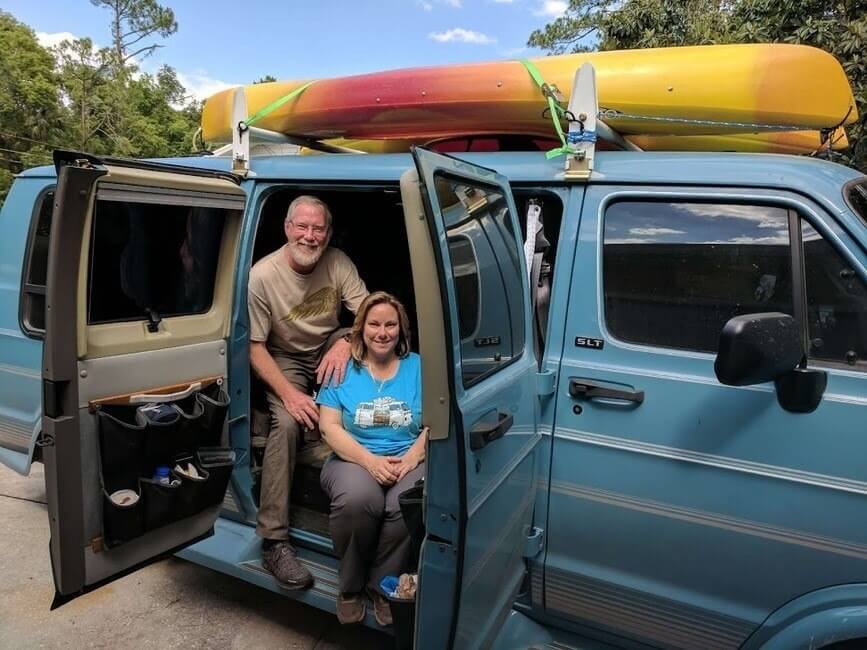
The Deciding Factor for Buying a Camper Van
I never really thought I could have my own van until John took a new job that came with a company car. After a while, he decided to sell his Jeep since he was still making payments on it, but it wasn’t really being used much anymore. He still needed something that he could use to pull his single axle open deck trailer for things like taking his mower to the shop. So, he started looking at old pickup trucks. He wanted something inexpensive, that he could pay cash for, and just drive around on weekends, or when he needed it.
When I saw him looking at SUVs, it was a light bulb moment. I asked him, “Could you pull your trailer with a VAN?” When he said “yeah, probably so,” I reminded him how much we loved our Escape Camper Vans trip, and immediately presented my case for how much USE we could get out of a VAN instead of a pickup truck or SUV:
- We can use it to take the whole family or a group of friends out to dinner, or on some other adventure.
- I can provide transportation for older ones and single sisters to my conventions and assemblies.
- We can use it to pull the trailer when taking the mower to the shop, or to load up a bunch of kayaks or bikes, plus take all the passengers along for a day on the river or bike trail.
AND (BEST REASON OF ALL), we can use it as a campervan for road trips!
Finding a Camper Van
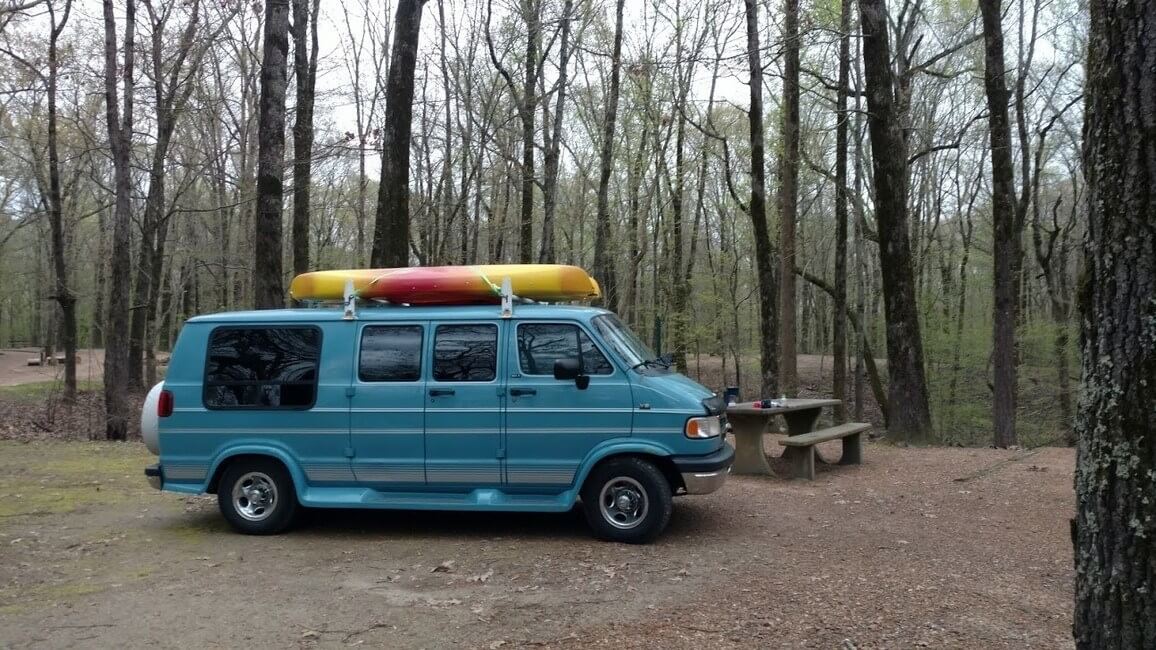
He agreed, and the search was on for an older, inexpensive van, in good shape, with decent mileage. We looked at a few in our price range, but they were either in bad shape with a ton of miles, or empty shells that needed to be built into something useful. That was NOT what we had the time, money, or energy for. Then, John saw a Dodge van online that had a recent price drop in the listing. It looked too good to be true, so we went to check it out in person.
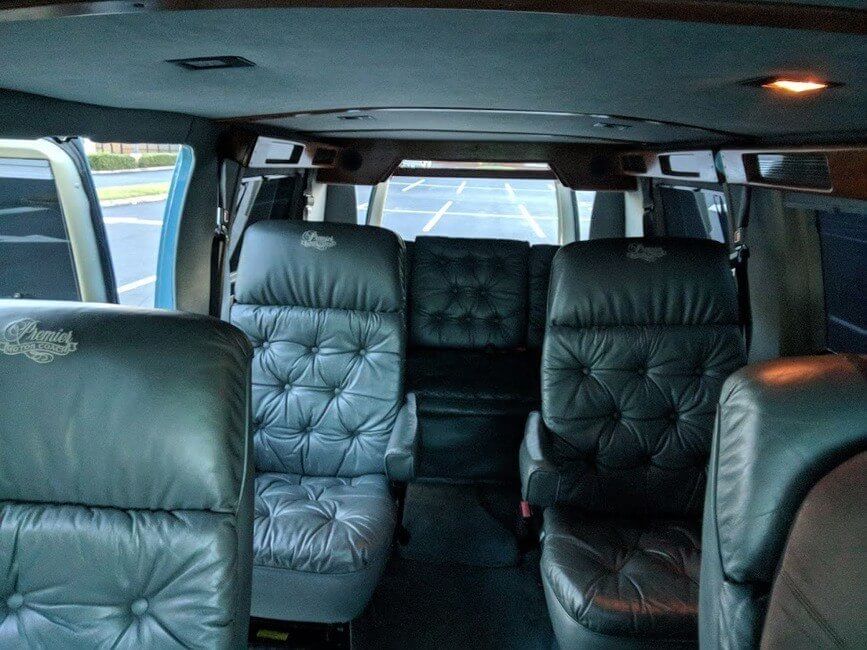
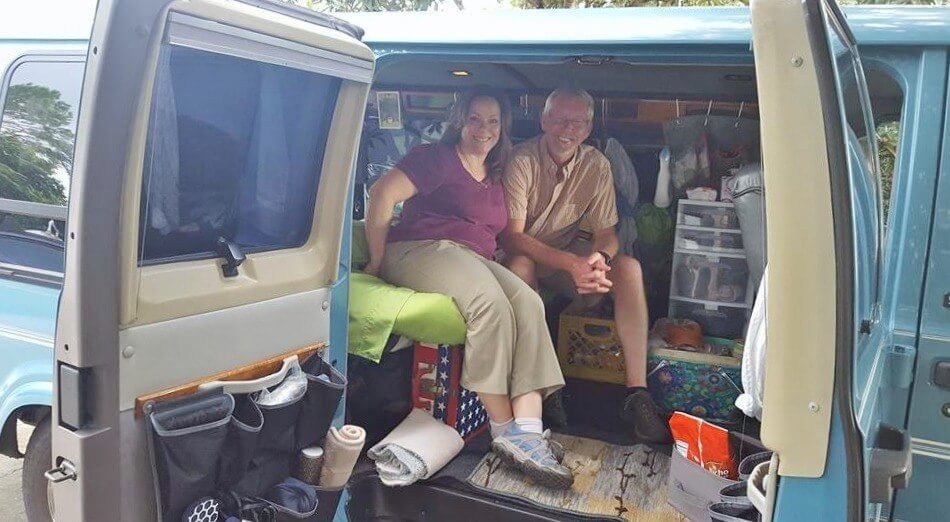
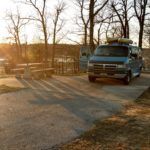
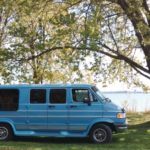
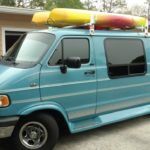
It was perfect! A Turquoise colored 1995 Dodge Ram 2500 conversion van. It was garage kept, had leather interior, seating for 7 passengers, the rear seat automatically converted into a bed, and had only 63K miles! It had been used as a nice gentleman’s “Grandpa mobile” to take all his grandkids back and forth to the theme parks. John guessed right that the seller was motivated, and we got it for a great price.
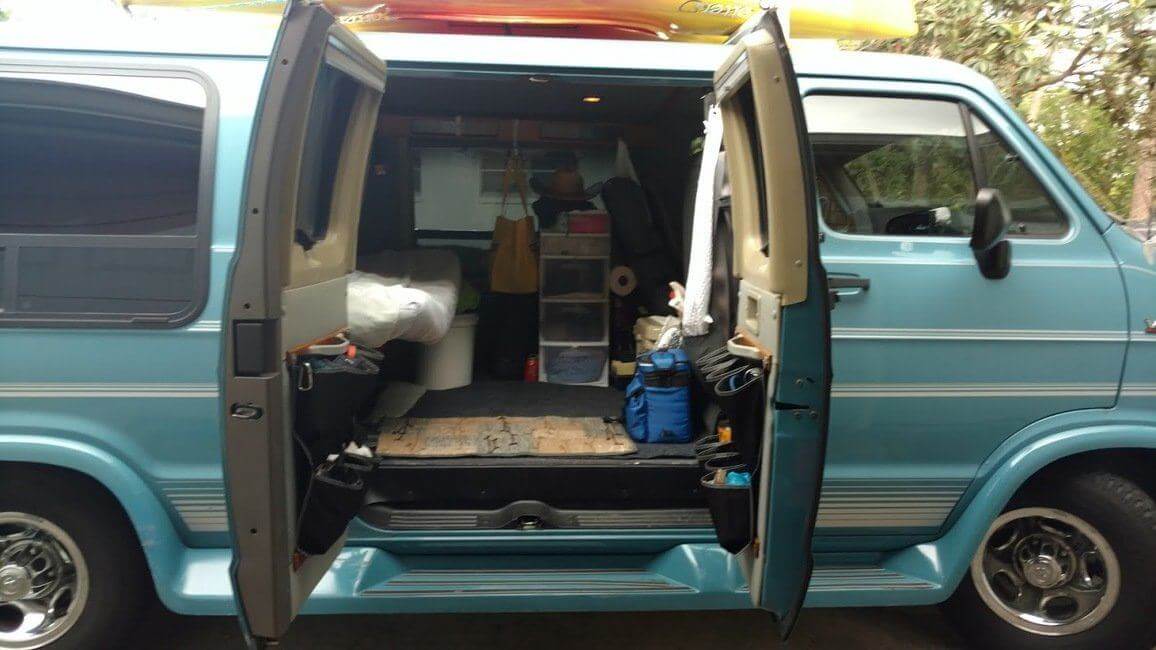
Converting our Camper Van
It needed just a little bit of work, some new tires, and a new seatbelt (we found a used one that we pulled out of an old van in a junkyard), and she was ready to hit the road. We drove it from Florida to ACE Whitewater in West Virginia for a family vacation as a “shakedown” run. As Sara reclined in the second-row captain chair, she observed, “My ENTIRE CAR would fit inside this van.”
The First Road Blocks to Build A Camper Van
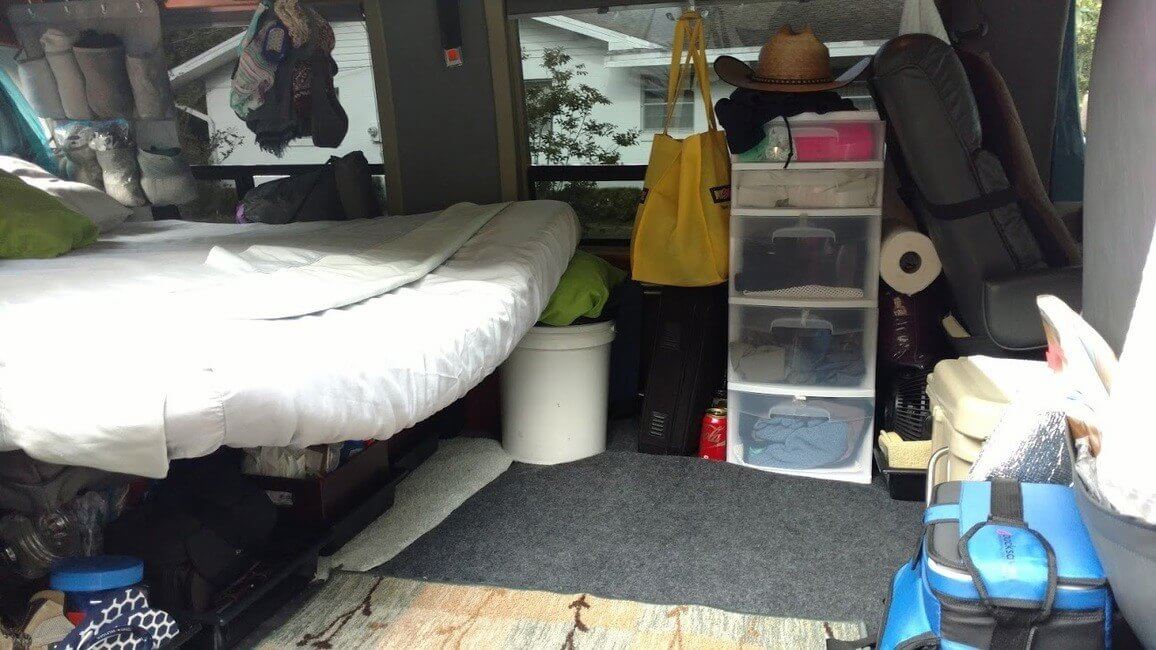
We learned some important things on that maiden voyage in the van that we now love and call “BIG BLUE.” Most importantly: John was much longer than the existing bed, the bed was very uncomfortable (painful actually), and the gas gauge didn’t work. We kept a notebook in the van and jotted down ideas and solutions during the trip. Then, we returned home and got busy.
After three years, many trips, and a lot of trial and error to build a camper van that fits our needs, we finally have a system that works for us. Unlike most campervan blogs you may read, we decided to do a soft conversion. It was very important to me that we didn’t lose the versatility of also using the van to provide transportation for seven passengers. Now we can easily transform BIG BLUE from a deluxe shuttle queen, into a road trip campervan machine, and back again. Here’s how we do it.
Camper Van Conversion How-To
Remove Second Row Captain Chairs
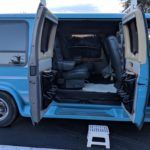
Lift a lever, and these chairs are easily removed from the van during road trips. We store them in our garage until we get back home. If John is going on the trip, and it is longer than three weeks, then we also take the time to remove the chair bases from the van floor. When you’re as tall as he is, gaining every inch of headroom you can in the van is important.
Flooring
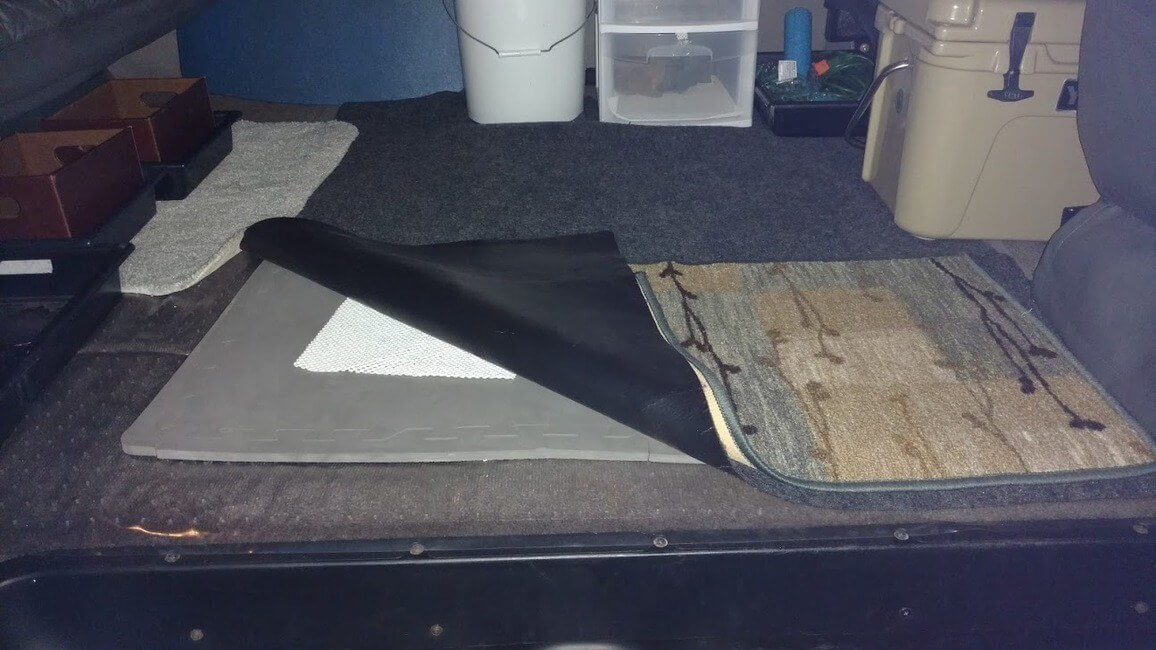
To protect the carpet, I cover it with a vinyl mat, then cushion it with foam play-room square tiles (crawling around in the van is easier on my back then stooping over). I found an SUV cargo liner at an auto supply store that I add on top of the foam tiles, then use old throw rugs and bathroom rugs. These can easily be shaken out and placed in the sun to dry.
The Bed
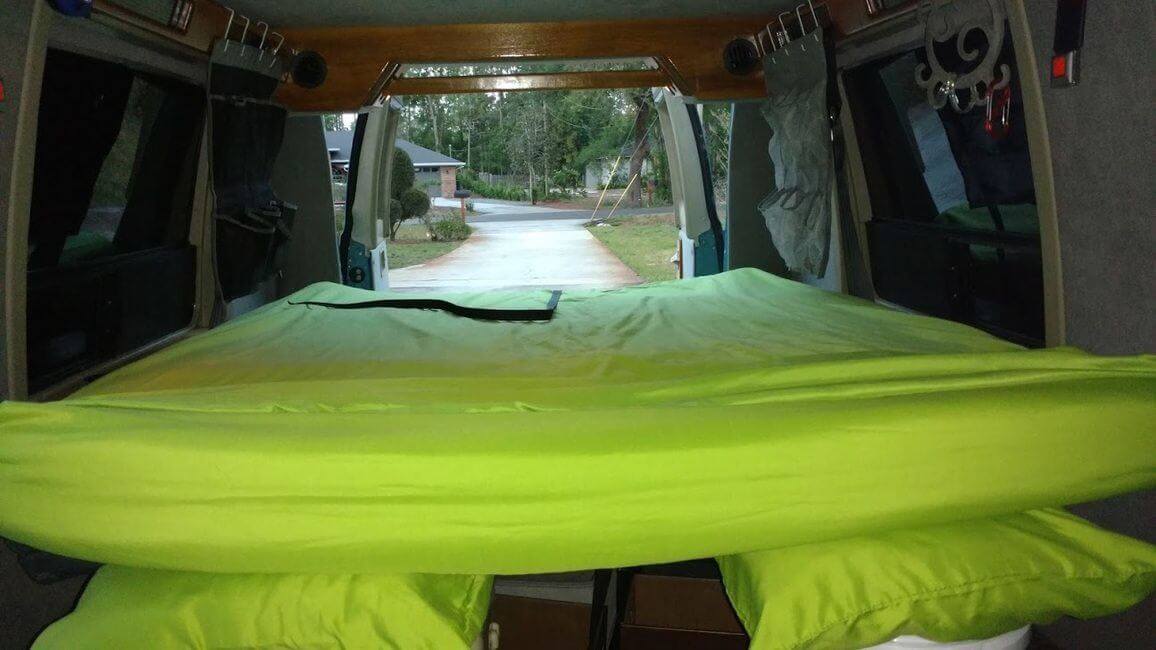
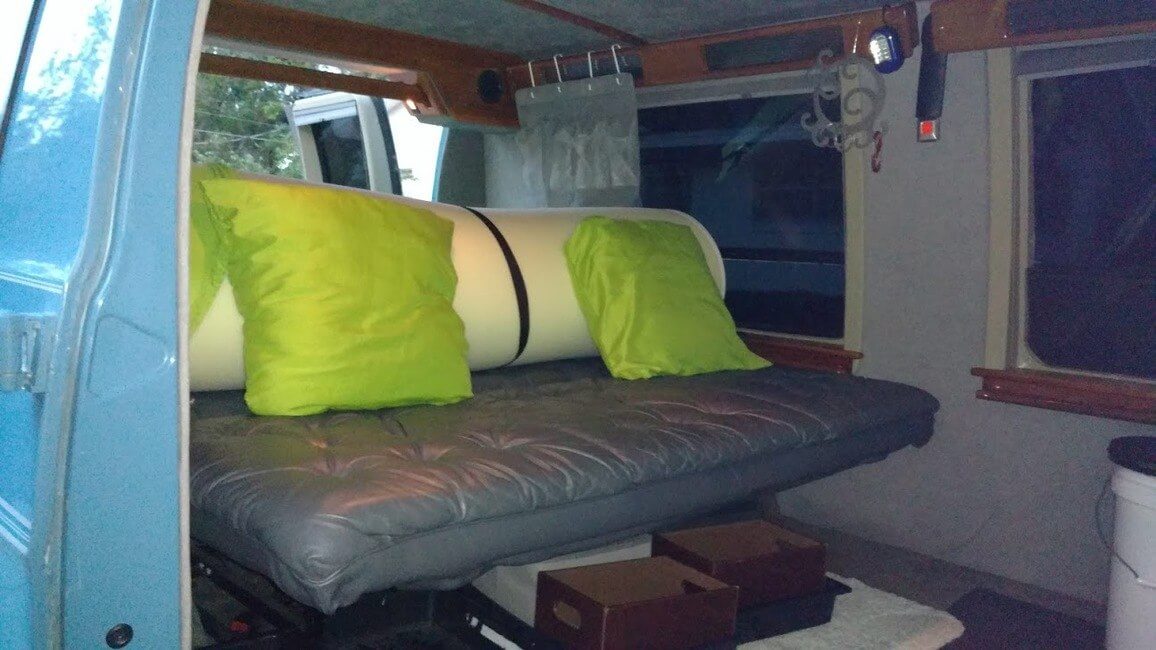
We add a 4-inch queen sized memory foam mattress topper that we got for about $99.00. I fold this over lengthwise and store it underneath the twin bed in my office when not in use. The next problem was finding something to support the part of the mattress topper that extended longer than the existing van bed.
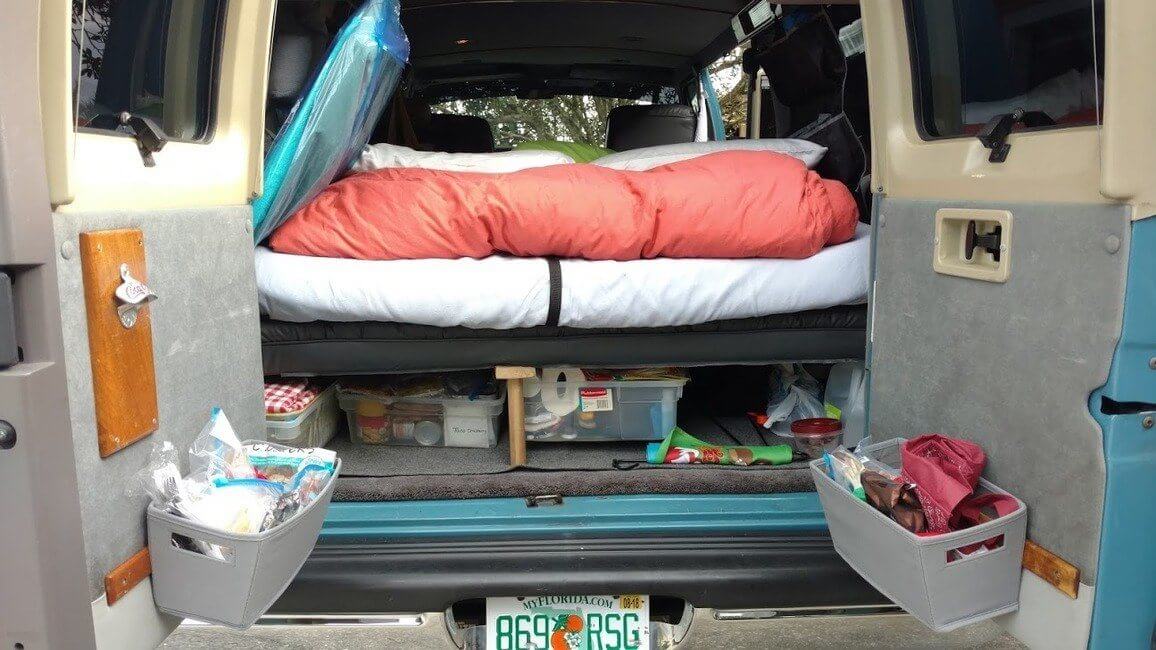
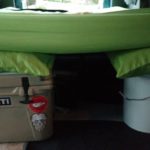
After many trips, and propping the end of the mattress up with everything from a hard-sided suitcase, to a milk crate, we have finally streamlined it to use existing van gear. We use our small cooler (IE refrigerator) and my firewood/charcoal/extra stove fuel bucket to support the mattress at nighttime. I add throw pillow to make it the right height, and we use the pillows on the “couch” for the daytime setup. We add a mattress cover, sheets, and a duvet. When it is super cold, I add a lightweight sleeping bag rated for 32 degrees that unzips into a flat square (I use this as our first layer for the most warmth).
The Couch
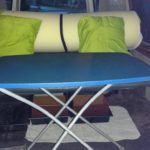
For daytime seating in the van, I roll back the mattress topper and secure with a cam strap that I strategically placed underneath the mattress. This serves as the back of the “couch.” Just add throw pillows and a folding table, and voila, we have a nice warm, dry, roomy place to read, write, edit photos, cook and eat.
Camper Van Storage Solutions
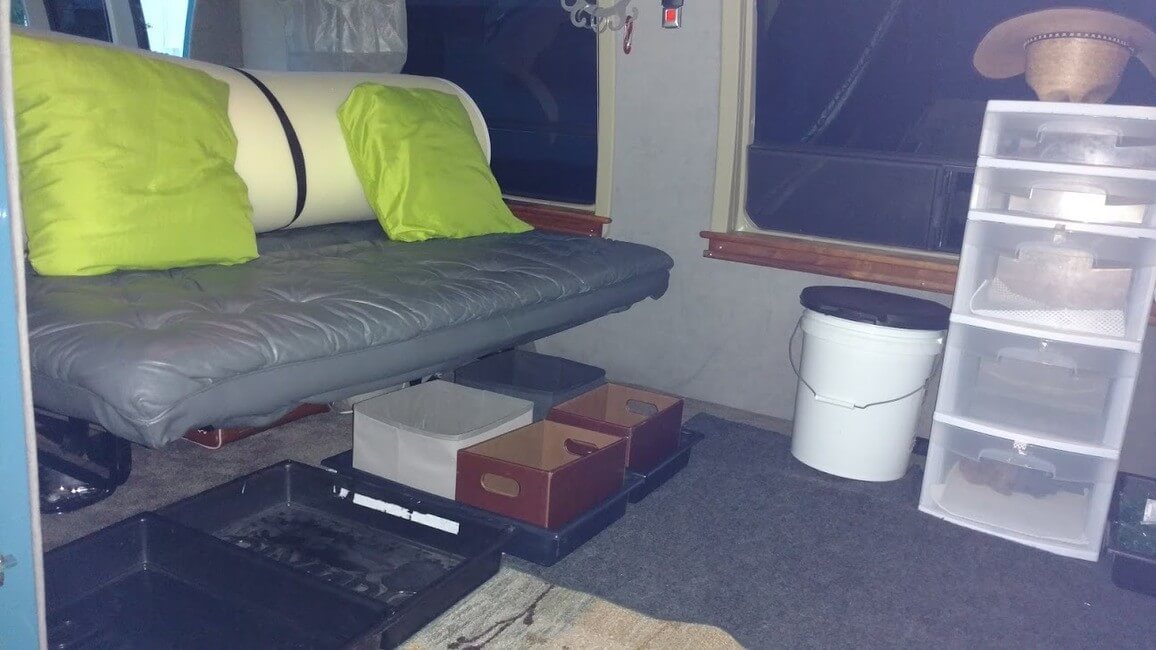
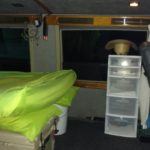
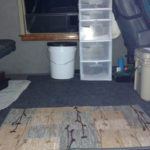
- 5-drawer rolling cart (wheels removed), held in place with bungee cords. Used for clothes.
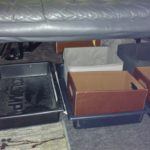
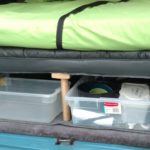
- Plastic bins under the couch. They slide out like drawers. We use the one closest to the side van door just for shoes. Others are used for books, journals, first aid items
- Plastic bin behind the driver seat. Strangely shaped space used to store heater, fan, extension cord, water noodle, and string lights.
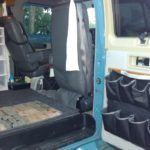
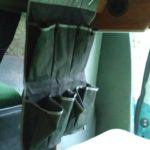
- Removable shoe storage pockets. These hang on each side of the bed to store clothes, headlamps, cell phones, eyeglasses.
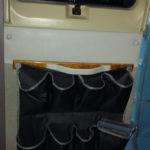
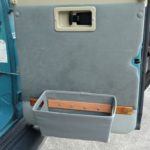
- Permanent heavy duty vinyl shoe storage pockets attached to the large side entry doors. Used to store frequently used items and camping gear.
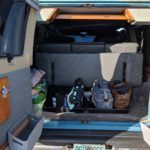
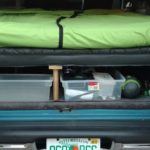
- Clear plastic storage boxes, used to store kitchen gear and food under the bed, accessed at rear doors.
- Permanent storage bins attached to the inside of rear doors. Used to store spices, coffee, and tea.
- Bucket: used to store fire logs, charcoal, and extra stove fuel.
- Over the door hooks for hanging jackets and bathroom tote bags.
- Felt covered accessory hanger used for hats, sunglasses, scarfs, beanie, bandanas.
- Non slip heavy duty rubber shelf liner pieces: used on dash, console, under rugs, mattress, and on top of plastic drawers to keep things from sliding around.
Privacy
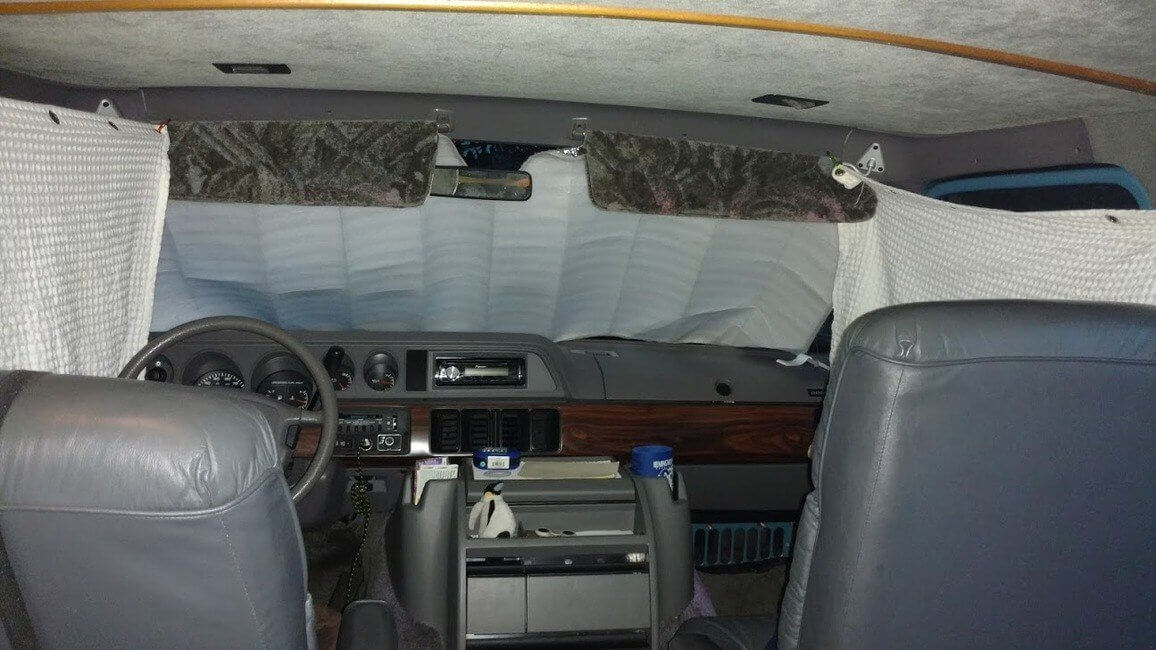
Most of the side and rear windows had shades and thick velour curtains when we bought the van. We removed the original curtains because they were so ugly and decided to just use the window shades. (In hindsight, those ugly curtains probably served to keep the van warmer on cold nights -oops).
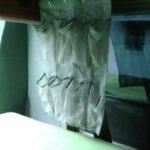
We use a windshield sun visor at night. For the front driver and front passenger door windows, we made curtains out of a fabric shower curtain. We use metal shower curtain hooks and carabineers in the existing grommet holes to hang the curtains from the top of the front seatbelts. They are not in the way when using the seatbelts, then at night we just pull them up and hook them onto the van’s two front visors.
Lighting and Heat
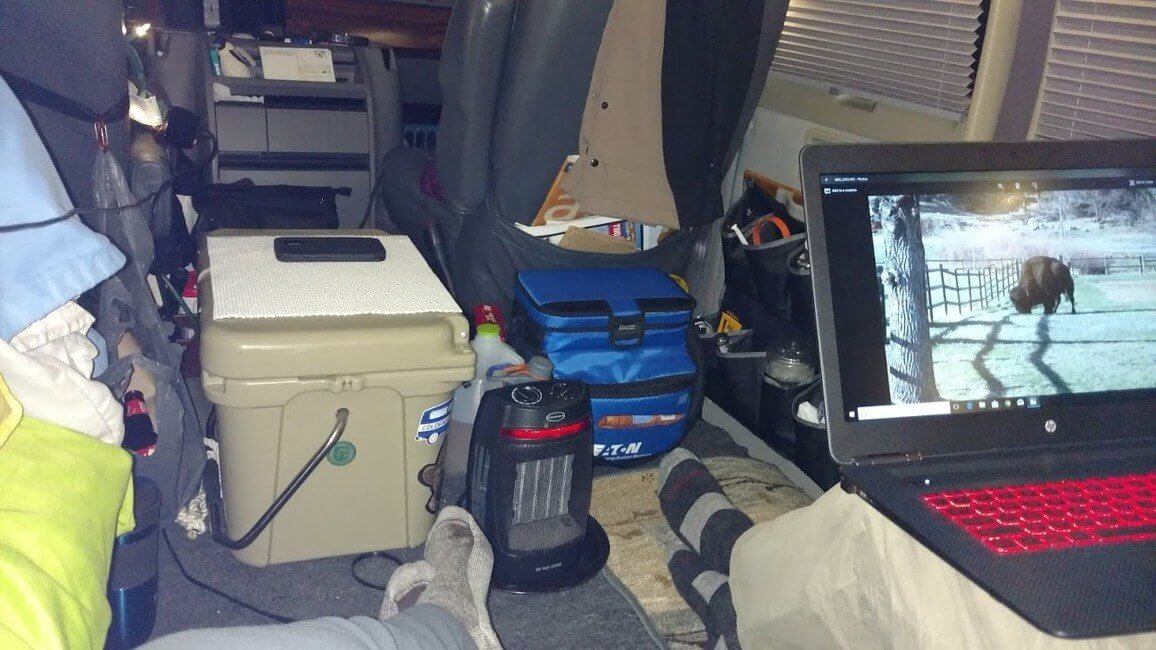
We use headlamps and battery powered “push lights” from Harbor Freight. When we have a campsite with electricity, we run an extension cord through the window (using a cut piece of a water noodle as a cushion and to fill in the gap) and we plug in a string of white-lights and hang them around inside the van (we use the string lights outside, too). We have a multi-plug converter that we add to the extension cord so we can also charge our phone, use a fan or space heater, or cook inside the van with our induction cooktop.
Screened Windows and Fan
When it’s hot out, but buggy, we open the push out windows and hang pre-cut window screens on the inside of each window, sealing the edges carefully with painters tape. We turn the fan on high (see water noodle/extension cord trick above) and sleep with just a sheet.
Kitchen and Camping Gear
I use a tiny one-burner backpacking stove. If I have electricity, I use an induction cooktop. For brewing coffee, I use a GSI Outdoors 50oz Java Press and keep it hot in a large thermos. I have a small dishpan for washing dishes, but no running water or sink in the van. For supplies, I take a small tray, large cutting board, tablecloth skillet, small pot, large pot, plates, insulated coffee mugs, water bottles, cutlery, can opener, spatula, etc.
Extras Just For Fun
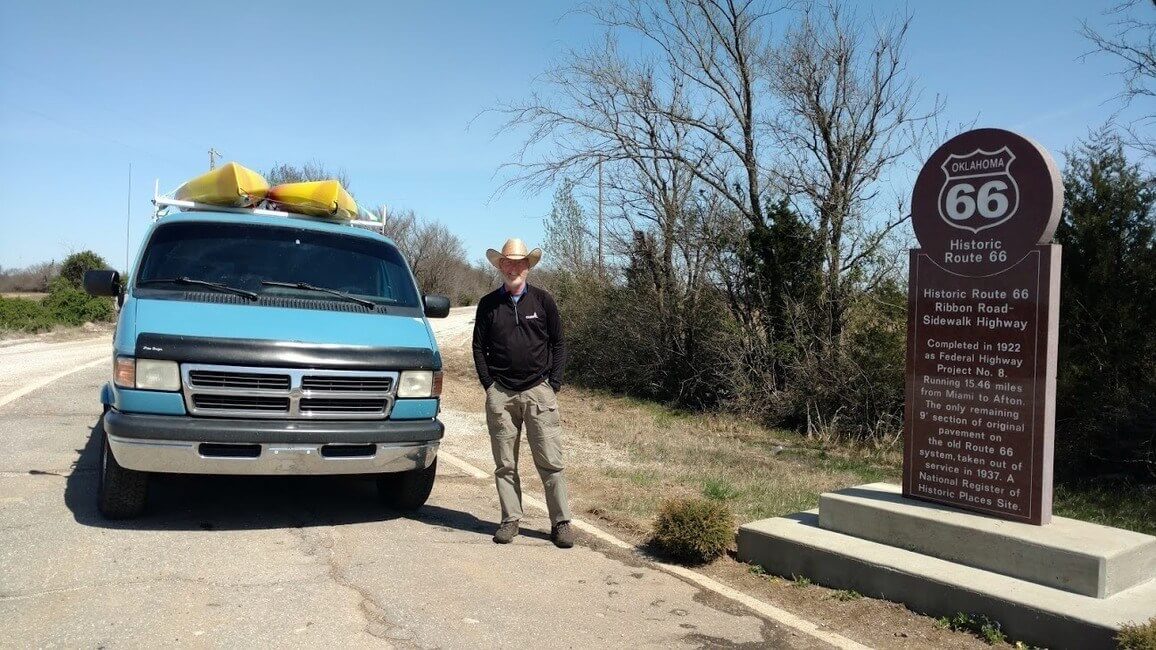
String lights, backgammon, Bluetooth speaker, camp chairs, hammock, monkey mat, campsite flag, roof rack for kayaks
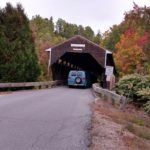
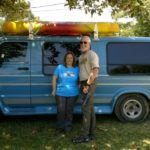
So, whether she’s transporting people, pulling a trailer, or set up for camping on the road, BIG BLUE can do it all. After our recent 6,800-mile road trip with not one single van issue, we realized that we can never get rid of her. We’ve been through so much together, and she has been so good to us. We’re so glad we spent the time to build a camper van, and she will be a part of our family as long as she lives.


Just came accross your van write up. So jellous. We ilive in australia and want to do the same as you. We currently have 2 4wd,s which i am reluctant to give up. I love my ford truck. But i want a campervan. You have given me inspiration. Thanks guys
Camper van is more drivable and convenience to park and go, economical gas consumption and cheap to convert.
Hi guys. Congrats on your campervan. I also did a conversion on a Ford Transit 250. I haven’t had much of a chance to try it out due to the virus. I have a question for you. I haven’t yet been able to get an answer. I went to a campground and was told I could not stay there if my vehicle did not have RVIA certification. Do you know anything about this?
Hmm… we’ve never heard of someone being turned down from a campground for not having RVIA certification. Some campgrounds do have an age limit for vehicles or the vehicle must be a “self contained unit,” aka it has a bathroom. RVIA is like a home inspection for an RV.